Kegerator Coupler Parts: Essential Accessories for Your Home Keg
Ever wondered why your draft beer sometimes pours foamy or flat? Those issues often trace back to the little parts that bridge your keg and tap. An improper setup can strip even premium brews of their carbonation and flavor.
We at Installation Parts Supply believe that every great pour is built on top-notch hardware. From homebrewers to casual draft-beer fans, getting to know these keg tap diagram parts guarantees the perfect pour.
Whether it’s a washer or a length of gas tubing, each piece helps preserve carbonation and flavor. More than nine out of ten pour problems stem from mismatched or worn parts. Understanding these parts is the key to a trouble-free draft system.
Important Notes
- The correct coupler choice means perfect carbonation and flavor.
- Installation Parts Supply provides reliable plumbing solutions for draft systems.
- Regular maintenance prevents common pouring problems.
- The style of coupler depends on the beer you’re pouring.
- Most system failures originate from coupler-related issues.
Define the Kegerator Coupler
A great pour all hinges on how your keg hooks up to the tap. A keg coupler bridges your CO₂ cylinder or nitrogen tank to the beer line, using compressed gas to push liquid smoothly to your taps. Consider it the powerhouse of your draft beer system—remove it, and the flow stops.
This small device has two jobs: it delivers gas to pressurize the keg and controls beer output. Within its housing is a probe, a check valve, plus dedicated gas and liquid ports. These components work together to maintain carbonation and prevent excess foam.
| Part | Function | Common Issues |
|---|---|---|
| Probe | Pierces the keg’s cap | Misalignment causes leaks |
| Check Valve | Prevents backflow | Flat pours from worn seals |
| Gas and Beer Ports | Connects to lines | Foaming from loose connections |
Misconnecting the coupler is a common error—three out of four novices slip up. That leads to foam floods, leaks, and ruined beer. Installation Parts Supply supplies charts and video tutorials to guide you.
Even “universal” styles need to correspond with your keg’s standards. The incorrect coupler not only spoils the beer, it can wreck your setup.
Keg Coupler Varieties and Applications
Kegs come in many styles and each needs its matching coupler. The correct coupler preserves carbonation and taste. Use these tips to select your coupler.
D-Type Coupler (Sankey)
It’s used by roughly 85% of U.S. craft breweries. That valve locks onto domestic kegs with ease. Pro tip: Look for the Sankey name stamped on the side.
U-Type Coupler
Stamped with a harp mark, it’s essential for nitro-charged stouts. It uses a unique gas blend (75% nitrogen) to create that creamy head. Don’t jam a U-style onto a regular keg—no proper seal results.
European S-Type Coupler
Heineken and other European imports need this reverse-thread version. Its reverse thread stops you from screwing it onto a D keg. Fun fact: It’s slightly taller than its American cousin.
A-, G-, and M-Type Couplers
UK/German imports call for these unique couplers:
- A-Type Coupler: Used on Warsteiner & Paulaner barrels. That slider lock never slips.
- G System: Used by UK pubs for Bass and Boddingtons. Britain’s go-to pub coupler.
- M-Type Coupler: Locks onto Schneider Weisse kegs. The slide-lock clicks when secure.
Installation Parts Supply color-codes their compatibility guides—green for D, black for U, blue for S. One Midwestern brewery cut costs by $3K annually with the right couplers. Always favor exact compatibility over “universal” marketing.
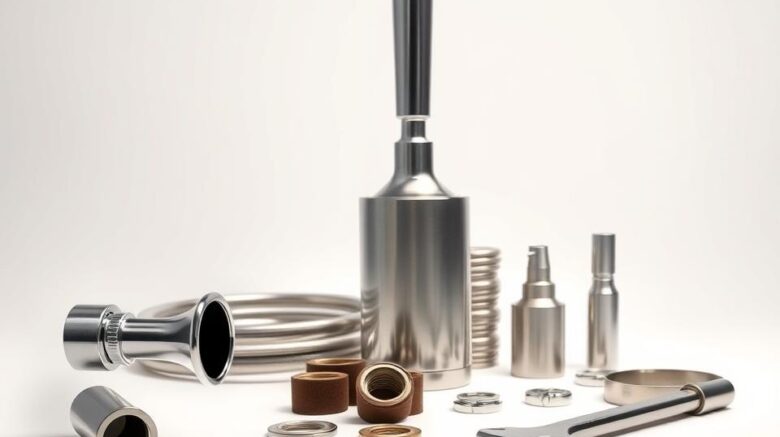
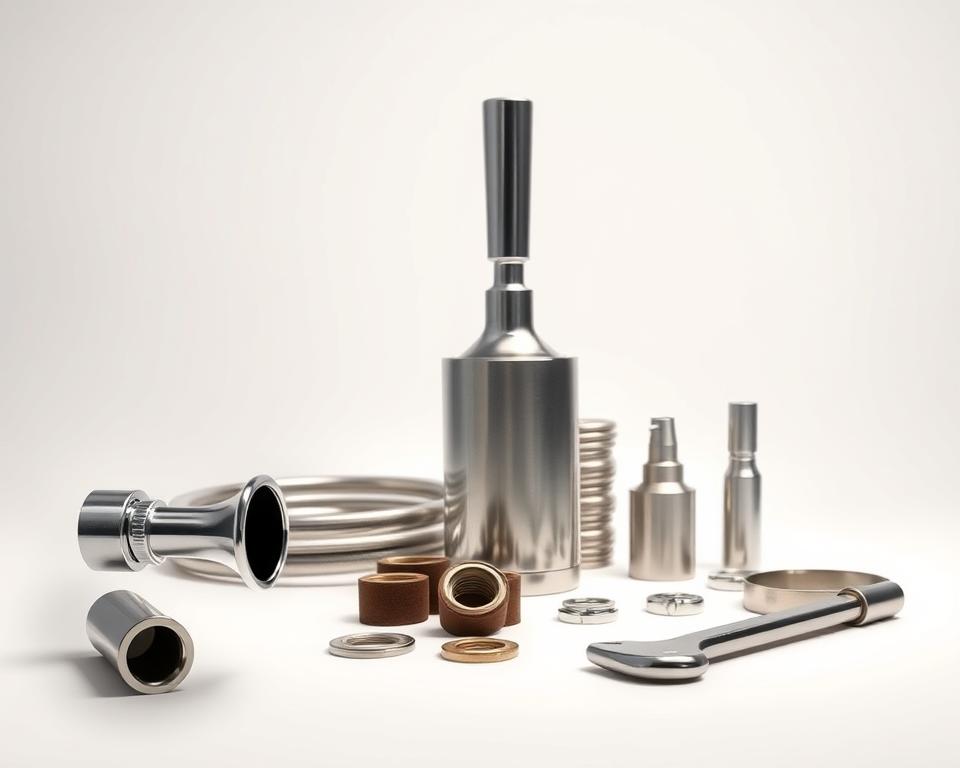
Essential Kegerator Coupler Parts and Their Functions
That perfect pour depends on finely tuned parts. Together, they keep carbonation in and foam out. Here’s a look at the parts that matter most.
Coupler Probe & Check Valve
The metal probe opens the keg’s seal for dispensing. Premium models last 3x longer than economy versions. Underneath, the check valve stops reverse flow—our top replacement item.
Coupler Hex Nut & Washers
Everything tightens up around the hex nut. Brass suits budgets, but stainless steel resists corrosion. Nitrile outperforms EPDM under 40°F.
| Component | Construction | Key Benefit |
|---|---|---|
| Coupler Probe | Stainless Steel | Long-lasting |
| Return Valve | Food-grade plastic | Stops foam issues |
| Hex Nut | Brass/Stainless | Cost-effective & durable |
Gas and Liquid Ports
The gas port handles 20–30 PSI for CO₂ or nitrogen. Incorrect pressure spells foam issues. Use 3/16″ tubing for beer lines; 1/4″ causes extra agitation. Rebuild kits with FDA seals simplify maintenance.
Pro Tip: Replace O-rings biannually or after ~50 kegs. A $3 washer replacement beats a $150 coupler failure.
Setting Up Your Coupler
Install correctly for flawless drafts. Proper installation prevents foam, leaks, and flat beer. Follow these steps to connect everything smoothly.
Connecting the Coupler to the Keg
Open the handle, fit lugs into place. Turn clockwise until snug—over-tightening damages the seal. Low-profile designs reduce height by 4–5 inches for tight spaces.
Use our torque wrench to set nuts at 8-10 ft-lbs. Eighty percent of leaks stem from a crooked probe. Always use fresh washers to maintain pressure.
Line Connections
Connect the gas hose to the coupler’s port using 5/16″ MFL fittings. Seal threads to stop CO₂ from escaping. Keep beer tubing 10-12′ of 3/16″ ID for best flow.
| Step | Equipment | Note |
|---|---|---|
| CO₂ Line | Pipe dope | Check with 30 PSI leak test |
| Beer Line | Pipe cutter | Keep ends square for seals |
| Leak Test | Leak detector | Check for 24 hours |
Some setups include apps that track pressure live. Our quick-connects helped a Denver bar slash foam by forty percent. Stop the CO₂ at the source for serious leaks.
Common Coupler Problems & Fixes
A foam burst spoils your draft faster than anything. Once you know what to check, most issues are easy to fix. Below are common faults and quick fixes.
Foamy Beer Solutions
Foam accounts for 68% of draft system complaints. First, confirm the beer is at 38°F, which is optimal for ales. Warm beer releases CO₂ prematurely.
Next, inspect your beer line connections. Soap and water will bubble up where gas is escaping. Snug fittings carefully; overtightening can harm seals.
- Check ball failure causes intermittent flow—listen for hissing sounds
- Not sure on PSI? Use this guide:
| Beer Type | CO₂ Pressure | N₂ Ratio |
|---|---|---|
| Lagers | 10–12 | N/A |
| Stouts | 25–30 | 75% nitrogen |
Loose Coupler Issues
Loose couplers almost always trace back to worn seals. Installation Parts Supply reports this fixes 40% of attachment issues. If the face is warped, swap the entire coupler.
Shims can stabilize wobbly connections. They’re a cheap way to stop wobble. Low-profile models solve clearance problems in compact coolers.
Pro Tip: An emergency kit with five washers fixes most sudden leaks. One Chicago pub trimmed loss by 18% with staff training.
If your CO₂ tank frosts up, you’re running too hard. Allow the tank to warm up prior to any valve tweaks. Digital gauges need yearly calibration for accuracy.
Coupler Cleaning & Care
Hygienic systems yield the best flavor. Over time, residue builds up, affecting flavor and dispensing performance. Regular care preserves performance.
Disassembly and Soaking
First, disassemble the coupler. Remove the handle, probe, and check valve. Soak all parts in warm water with 1 oz of PBW per gallon for 15–20 minutes. It dissolves yeast and hop deposits.
Use our brush kit to clean narrow passages. Don’t forget the ball valve—it accumulates debris. Rinse fully so no cleaner remains.
Best Coupler Cleaners
Powdered Brewery Wash excels at safe cleaning. Acids clean quick but may degrade seals. For commercial setups, ultrasonic systems blast away debris with sound waves.
- Air Drying: Use compressed air or microfiber cloths.
- Disinfecting: Meet FDA CFR 117: 30 seconds to sanitize.
- Record-Keeping: Track cleanings with a template.
UV light options add extra protection for rubber components. Dispose of alkaline wash properly to protect drains. A quick clean routine preserves flavor and longevity.
In Closing
Achieve brewery-quality pours with expert hardware know-how. Matching the right hardware, regular cleaning, and proper setup make all the difference. Installation Parts Supply backs you with expert help and discount rebuild kits.
Fun fact: Careful maintenance adds up to 7 extra years of service. Grab the free compatibility guide or sign up for a pro webinar. One yearly inspection prevents headaches—our long-term customers agree.
Upgrade now—stop by Installation Parts Supply and boost your home setup.